Pages

Make Your Old Android Device Fast & Powerful !!!!!!!!


If your old Android device has started showing its age and you cannot upgrade to a newer one for one or the other reason, here are a few simple tips that will greatly help in improving the overall performance of your Android device.

6. Factory reset – Over a period of time, you end up installing/uninstalling hundreds of apps on your Android device. You also end up with a bunch of apps that you will probably never use, but they silently run in the background, draining battery and consuming precious resources.
Doing a factory reset will give you a platform to start fresh. I will also recommend readers to format the internal storage/micro SD card, if any, as it will get rid of all the junk files and folders left behind by uninstalled apps, and also help you reclaim some free space. Make sure you only install the apps and games that you actually need. This way you will make sure you don’t end up installing unneeded apps that run in the background and consume precious resources.


5.Update Software  – If you are not pretty tech-savvy and have a particularly old Android device, chances are there must be a software update or two available for it. While most of the software updates generally fix some bugs and improve battery life, a Jelly Bean update can do wonders for your device.


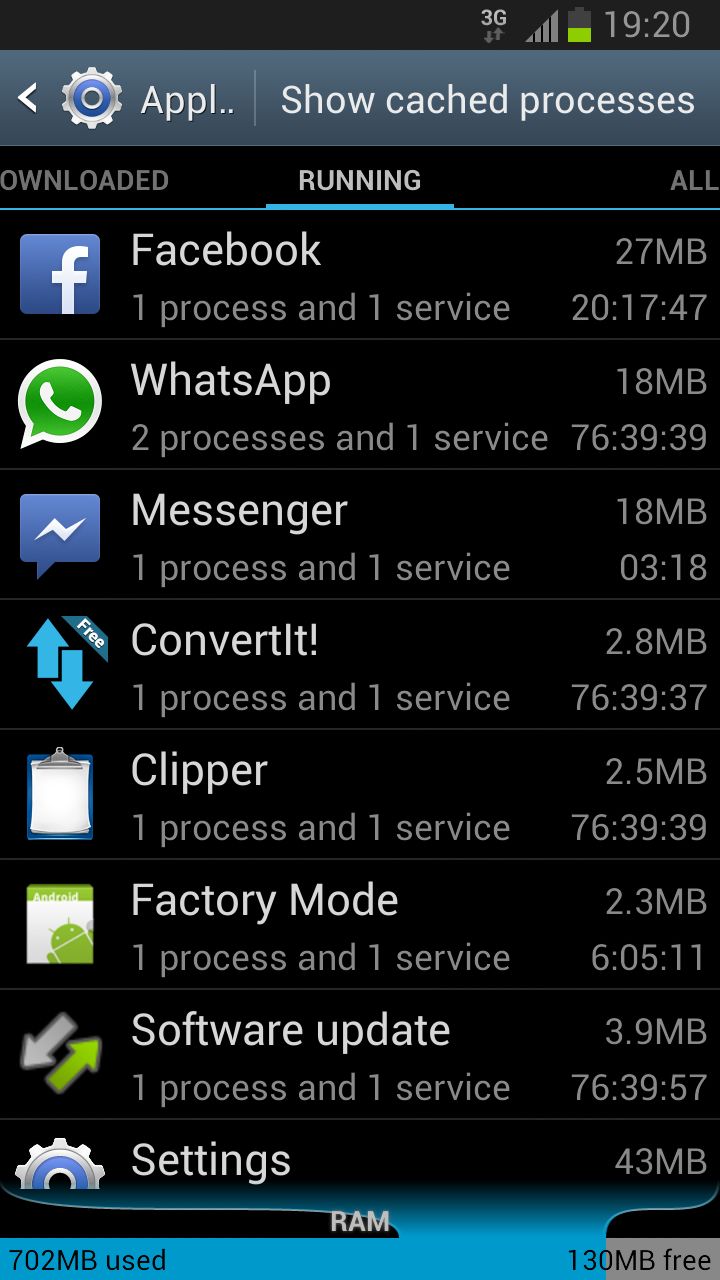
4. Disable System apps – One of the main reasons why your Android device slows down over time is due to the lack of RAM. Apps keep running in the background take up precious RAM, which greatly slows down your device. While the 1st point above will definitely help you in reducing RAM usage, you can reduce it further by disabling some of the system apps that unnecessarily run in the background.


This feature is only available in Android 4.0 and higher devices though. You can disable system apps by going to Settings -> Apps/Application Manager and then swiping to the All tab. From there, tap the name of the System app that you want to disable, and then select the Disable option. Don’t disable all the system apps though, as it might cause some stability issues. A quick Google search will provide you with a list of apps that you can safely disable on your Android device without any stability issues. You should especially use this option to disable all the carrier apps that come pre-installed on your phone, if you buy it on a contract.


3. Greenify – Greenify is a must have app if you own a pretty old Android device. The app basically allows you to hibernate apps from running in the background, which helps in saving resources and improves battery life. Hibernating an app using Greenify does not have any side-effect. The app will work just fine when you open it. You can also Greenify some of the system apps from the paid version of the app without any issues.


http://cdn.cultofandroid.com/wp-content/uploads/2013/07/greenify.jpg

Even on a device like the Galaxy S3, Greenify can do wonders and help you free up a lot of RAM that is otherwise taken up by apps that you are not using.

2. LagFix – Some manufacturers use cheap NAND to help reduce their total manufacturing cost. While they don’t save much by going cheap on the NAND, they do end up sacrificing performance. While at first the side effects of a slow NAND are not visible, they can greatly affect the performance of an Android device after six to twelve months.
On such devices, using LagFix can lead to a major boost in NAND performance, which can greatly improve the system responsiveness under load. You can download LagFix from here, but keep in mind that you must have root access to use it.

1. Root and flash a Custom ROM – If the above steps fail, your last resort is to root your Android device and flash a custom ROM. While rooting can be a tedious process, the gain in speed on your Android device will be totally worth it. As a bonus, you will also get to use some new features, and depending on the custom ROM you flash, also enjoy a new version of Android.

Tricks to Unlock Pattern Lock On Android Without Losing Data

Method 1st:- Unlock Android Pattern/Password Lock

  • Download Aroma File Manager.
  • A memory card for android device.
  • You android device either locked by pattern lock or password lock.
Step 1. After download Aroma File Manager place it in your memory card (SD card). Insert the memory card into your locked android device.
Step 2. Open Stock Recovery Mode with reboot your android device and pressing Power Key and Volume up key simultaneously. Different phones may be have different methods to open stock recovery mode so if you face any problem Google it.
Step 3. After entering into recovery mode use Volume+ and Volume- buttons to scroll up and down. For select use middle button.
Step 4. From there click on “Install Zip from SD Card” and give path to install “Aroma File Manager” from SD card.
Step 5. After installing, it will open in recovery mode.
Step 6. From the Aroma File Manager navigate to settings >> go to bottom and click on“Automount all devices on start” and then exit.
Step 7. Repeat Step 4 & 5 again.
Step 8. After this you will get “Aroma File Manager” opened again.
Step 9. Now navigate to Data Folder >> System Folder  and find >> “gesture.key” or“password.key” for pattern lock or password lock respectively.
Step 10. Delete that any one file and then exit aroma file manager and reboot your android device. After rebooting you will notice that password or pattern lock not removed. But don’t worry draw any pattern and you will open your android device but remember or note that pattern.

Method 2nd:- Unlock Android Pattern Lock

1. First Requirement is Download Android SDK and here I will show you How To download and install Android SDK Tools.
Android-sdk-tools-interface
  • Download and install Android SDK Tools for run ADB commands. Now select platform according to you download and install it.
  • After installing open it, unchecked the other packages and check Android SDK Platform-toolsand then click on install packages according to the image given below.
Android-sdk-tools-manager
2. So the other requirement is USB Debugging should be enable before your android device locked.
3. The process will not be helpful if you doesn’t have specific and compatible drivers for your phone. So you should be very careful While installing your device compatible drivers.

Steps To Unlock Android Pattern Lock

Step 1. Connect your locked android phone with PC/Laptop via USB.
Step 2. Open folder where you installed Android SDK Tools Users >> App Data >> Local >> Android >> Android-SDK >> Platform-Tools and then click on blank space hold shift and click right mouse button and select “open command window here”.
open-command-window-setting
Step 3. It will open you command window now you have to put some commands in the command window:-
For check your device is connected or not put command:-

ADB DEVICES 
 Android-sdk-cmd-settings-to-unlock-pattern
Now put these commands:-

ADB SHELL
CD /DATA/DATA/COM.ANDROID.PROVIDERS.SETTINGS/DATABASES
SQLITE3 SETTINGS.DB
UPDATE SYSTEM SET VALUE=0 WHERE NAME=’LOCK_PATTERN_AUTOLOCK’;
UPDATE SYSTEM SET VALUE=0 WHERE NAME=’LOCKSCREEN.LOCKEDOUTPERMANENTLY’;
.QUIT
If above commands not working put:-
ADB SHELL RM /DATA/SYSTEM/GESTURE.KEY
Step 4. Once you done you have to reboot your android device. Now its all done.
After rebooting your device you will see the pattern lock disabled. So in this method USB Debugging should be enable before locked and it is must. But If it is not enable then you cannot proceed further steps. 

নিজের ইচ্ছে মতন নিজেই বানিতে নিতে পারেন যে কনো কিছুর একটি Run Command

আজকে দেখবো কিভাবে নিজের ইচ্ছে মতন নিজেই বানিতে নিতে পারেন যে কনো কিছুর একটি Run Command। এটি দিয়ে আপনি সহজে রান কমান্ড দিয়ে আপনার ইচ্ছে মত প্রোগ্রামে ঠুকতে পারবেন কম সময়ে। ছবি,গান, সফটওয়্যার মানে আম্নার ২ নয়নে যা ধরে তাই বানিতে নিতে পারেন রান কমান্ড। আজকে আমি একটি ছবির রান কমান্ড বানিয়ে দেখাবো এক্সাম্পল হিসাবে। খেলাম করুন আমার ছবিটির নাম linuxdj2.jpg এবং এটি আছে এই ফোল্ডারে C:\Documents and Settings\Administrator\Desktop\New Folder
তাহলে চলেন শুরু করি।
Step 1: প্রথমে “Start” থেকে “Run” এ গিয়ে টাইপ করেন regedit
Step 2: এখন নিচের জায়গা মত খুঁজে খুঁজে সেখানে যান -
প্রথমে এখানে HKEY_LOCAL_MACHINE
এখন এখানে SOFTWARE
তারপরে Microsoft
তারপরে Windows
তারপরে CurrentVersion
অবশেষে Apps Path এ ক্লিক করুন।
Step 3: এখন Apps Path এর উপরে রাইট ক্লিক করেন। তারপরে “New” এ ক্লিক করে “Key” তে ক্লিক করেন
Step 4: দেখুন একটি ফোল্ডার তৈরি হয়েছে এটার নাম দেন আপনে যে ফাইলের রান কমান্ড বানাতে চান সেই নাম দিন। যেমন আমি দিয়েছি linuxdj2.jpg [অবশ্যই নামের শেসে এক্সটেনশন দিতে হবে যেমন .jpg]
Step 5: আপনার বানানো ফোল্ডার এর উপরে ক্লিক করেন এখন ডান পাসে তাকিয়ে দেখুন default নামের একটি string ফেলু দেয়া আছে সেটির উপরে ডাবল ক্লিক করে ওপেন করুন
Step 6: এখন “value data” এর নিচে লিখার জায়গায় আপনার ফাইলটি যেখানে আছে সেই ঠিকানা টি লিখুন এবং সবার শেসে একটি স্লেশ দিয়ে সেই ফাইলটির নাম দিন। যেমন আমি দিয়েছি C:\Documents and Settings\Administrator\Desktop\New Folder\linuxdj2.jpg

Step 7: এখন সাদা জায়গায় রাইট ক্লিক করে তারপরে “New” এ ক্লিক করে “String Value” তে ক্লিক করুন তারপরে দেখুন একটি নতুন ভেলু এড হয়েছে এটির নাম দিতে হবে। নাম দিয়ে দিন Path. এখন উপরে ডাবল ক্লিক করে ওপেন করুন এবং আগের মতন “value data” এর নিচে লিখার জায়গায় আপনার ফাইলটি যেখানে আছে সেই ঠিকানা টি লিখুন এবং সবার শেসে একটি স্লেশ দিয়ে সেই ফাইলটির নাম দিন।

Tricks to Create a Bootable USB Drive Without Using Any Software


To create a bootable USB drive as a Windows installation media, we require at least 4 GB for minimum capacity. Larger capacity is better. At this moment, I use the USB flash drive with 2 GB of capacity as just an example. It's due to some reasons that my 4 GB flash drive encountered an unusual problem that i have to fix later. :D


  1. Insert your USB flash drive to your running computer. As the first step, we need to run Command Prompt as administrator. To do this, we need to find cmd by typing 'cmd' in the search box on Windows Start Menu. After search result for 'cmd' appears, right click on it and select "Run as administrator".
  2. Type 'diskpart' on Command Prompt (without quotes) and hit Enter. Wait for a while until the DISKPART program run.
  3. Type 'list disk' to view active disks on your computer and hit Enter. There would be seen that the active disks shown as Disk 0 for hard drive and Disk 1 for your USB flashdrive with its total capacity.
  4. Type 'select disk 1' to determine that disk 1 would be processed in the next step then hit Enter.
  5. Type 'clean' and hit Enter to remove all of data in the drive.
  6. Type 'create partition primary' and hit Enter. Creating a primary partition and further recognized by Windows as 'partition 1'.
  7. Type 'select partition 1' an hit Enter. Choosing the 'partition 1' for setting up it as an active partition.
  8. Type 'active' and hit Enter. Activating current partition.
  9. Type 'format fs=ntfs quick' and hit Enter. Formatting current partition as NTFS file system quickly.
  10. Type 'exit' and hit Enter. Leaving DISKPART program but don't close the Command Prompt instead. We would still need it for next process.

Internet Download Manager (IDM) 6.31 Build 3 Free download

Internet Download Manager  (IDM) is a very popular, useful and powerful application for downloading. It  increase download speeds by up to 5...

Translate